Integrate Shopify with Aha
After integration, you will have:
- A store in Aha with products imported from Shopify.
- Orders created in Aha synced back to Shopify, so you can manage them in one centralized place.
1. Create A Shopify Custom App
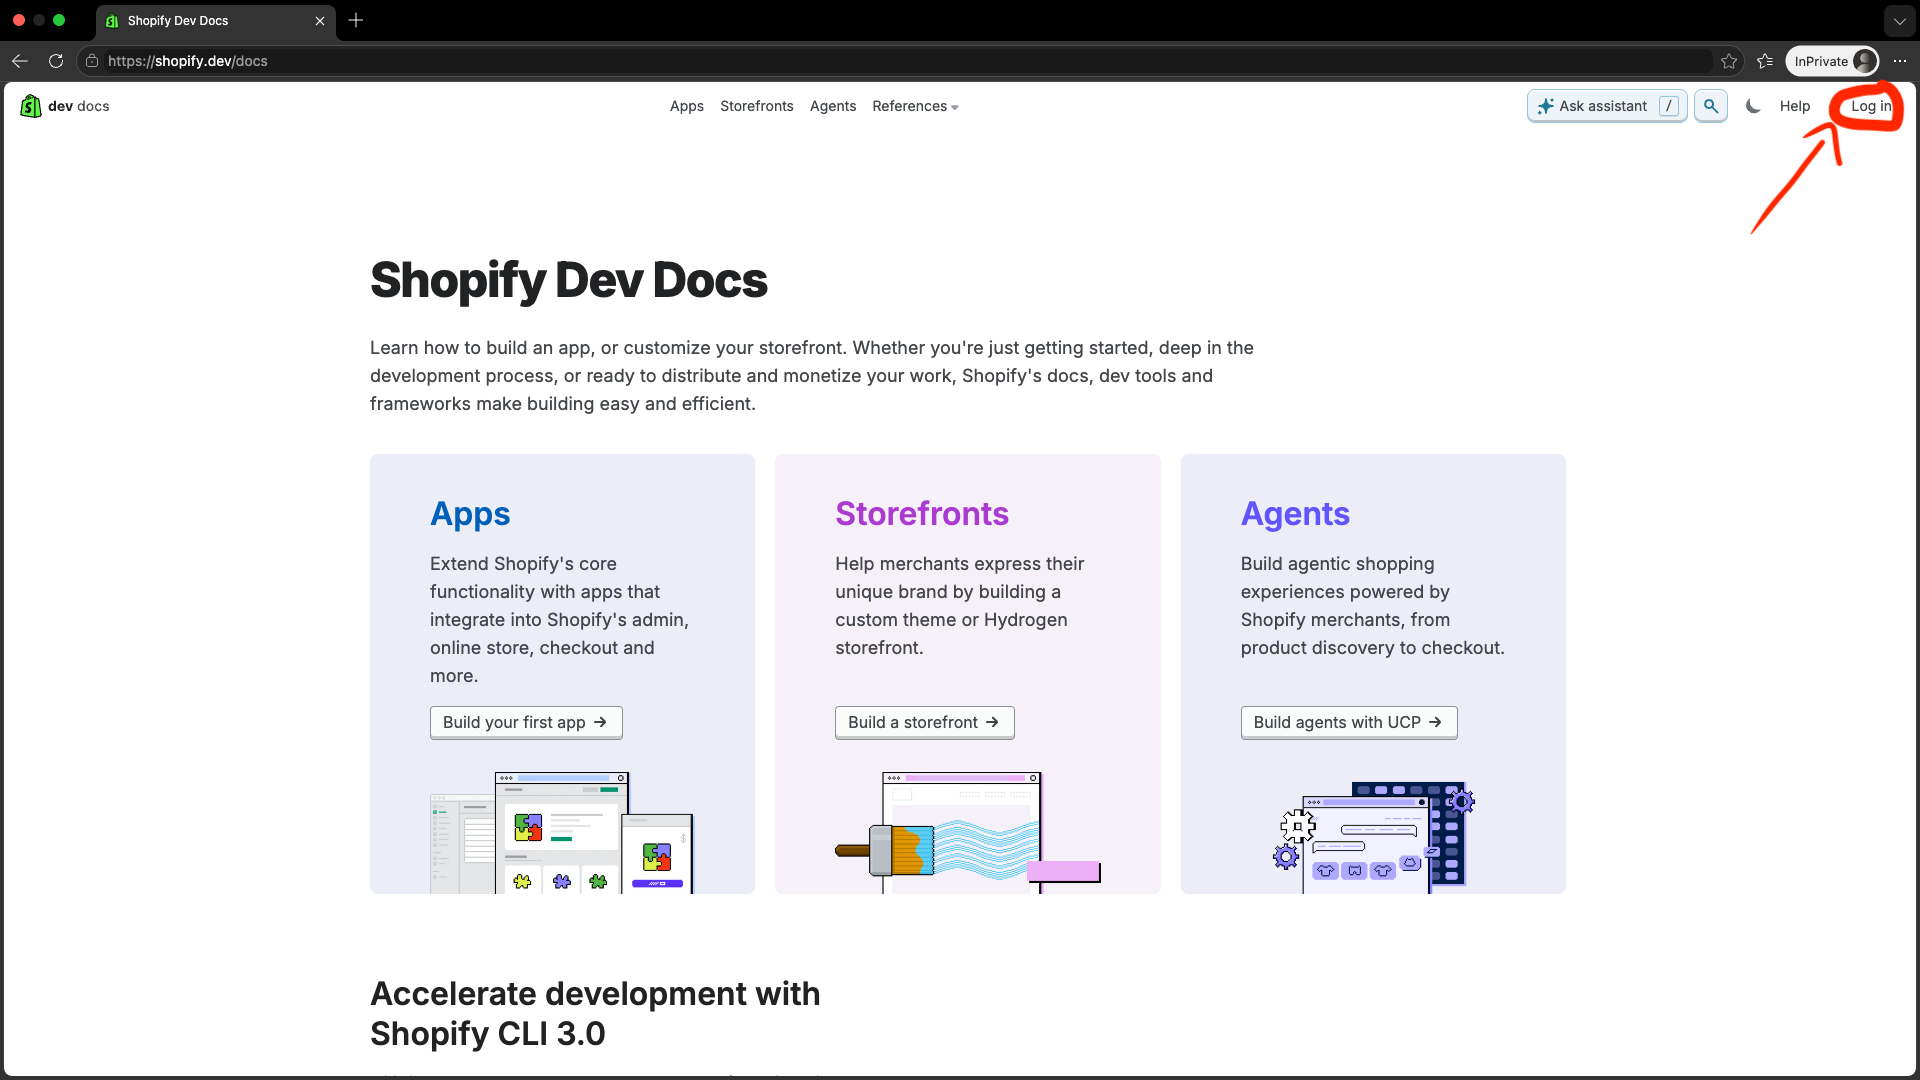
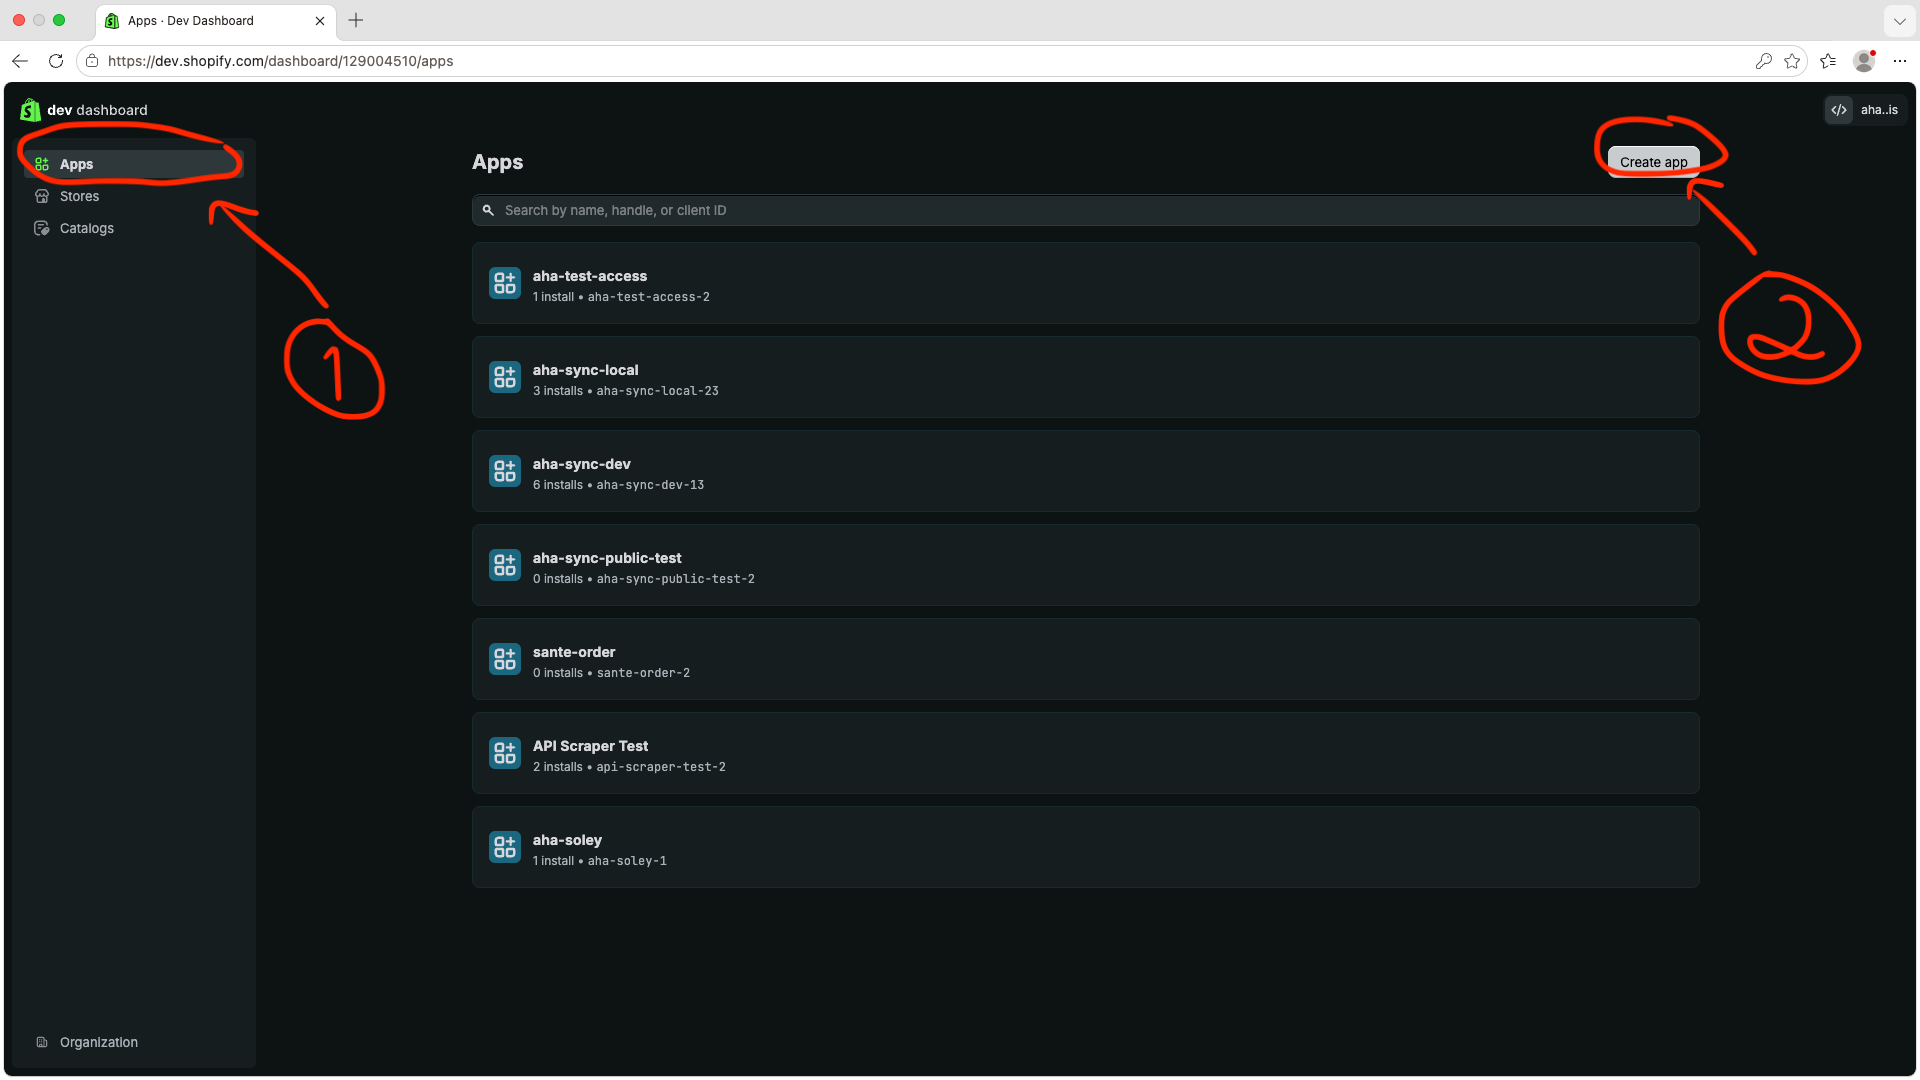
Go to the Shopify Dev Dashboard, log in, open Apps, and click Create app.
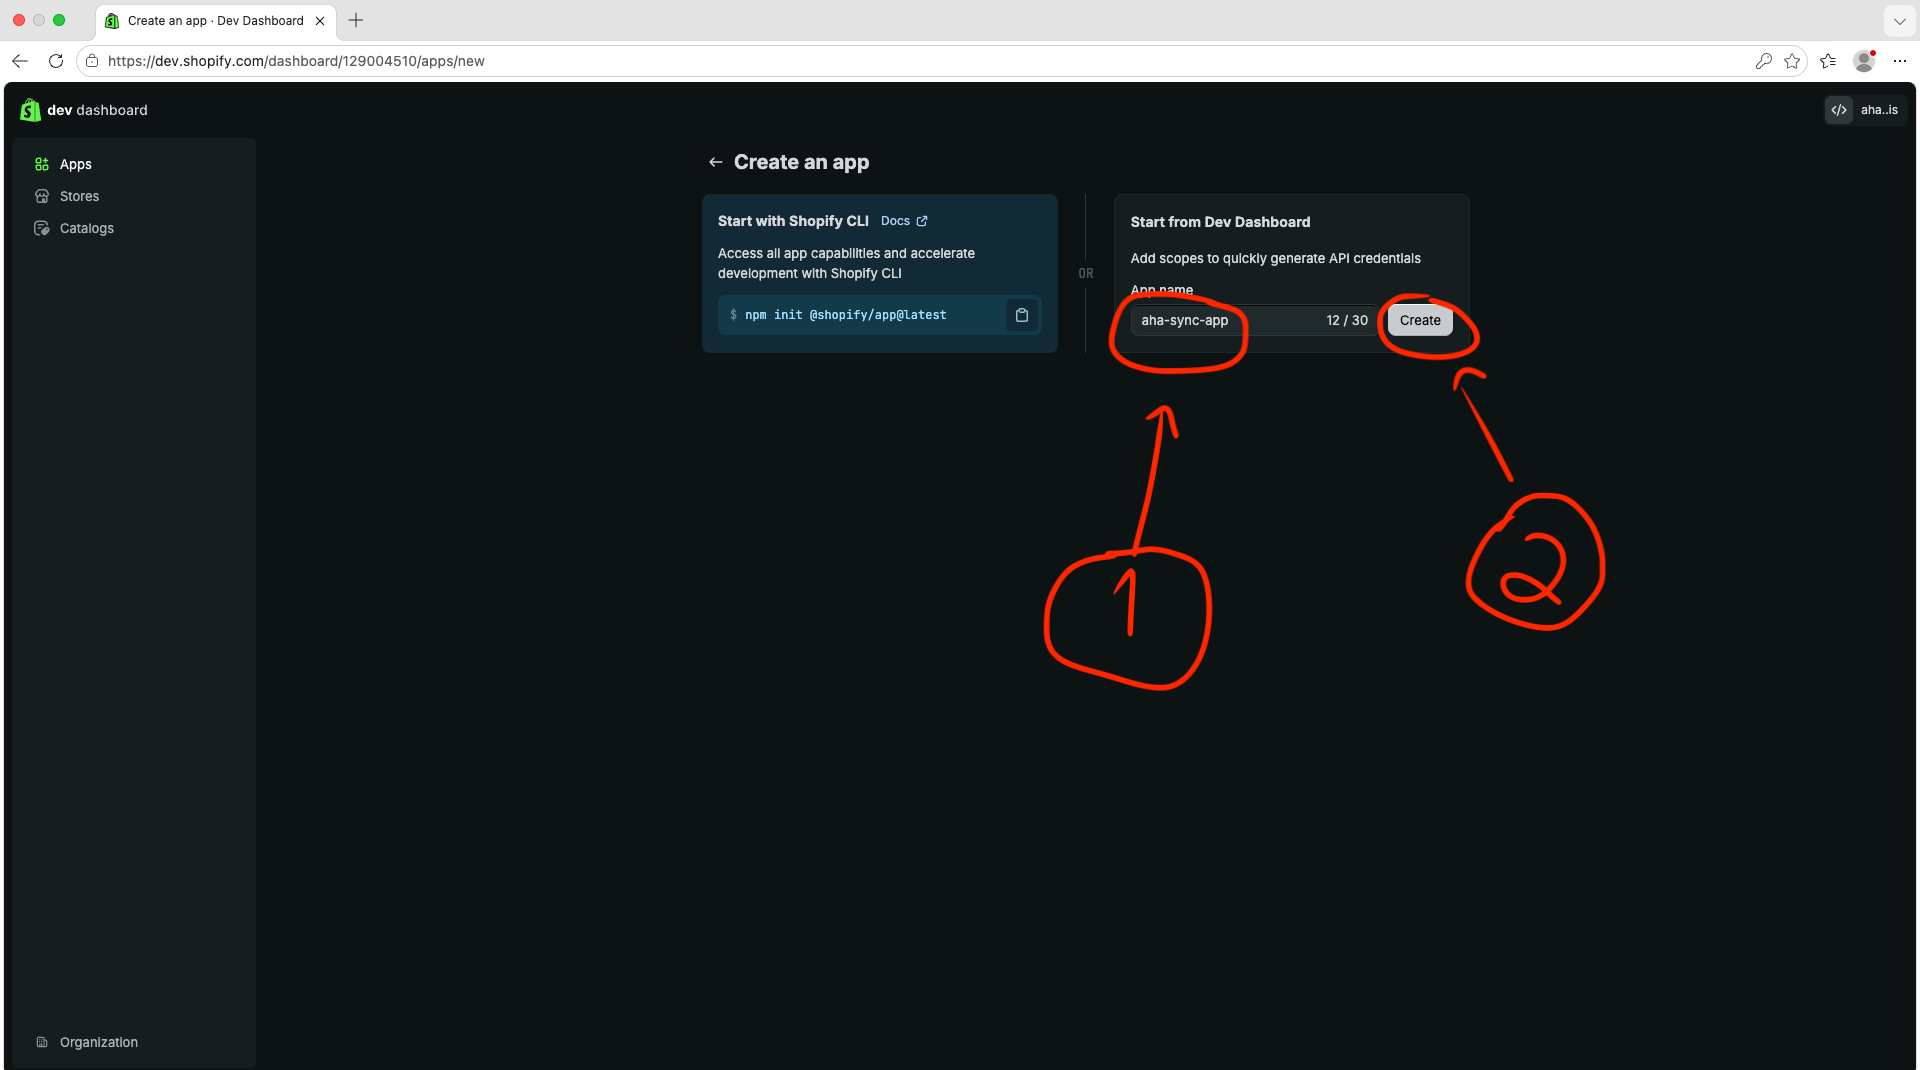
Enter an app name you want, then click Create.
Example app name:
Aha sync
2. Add Access Scopes And Release The App Version
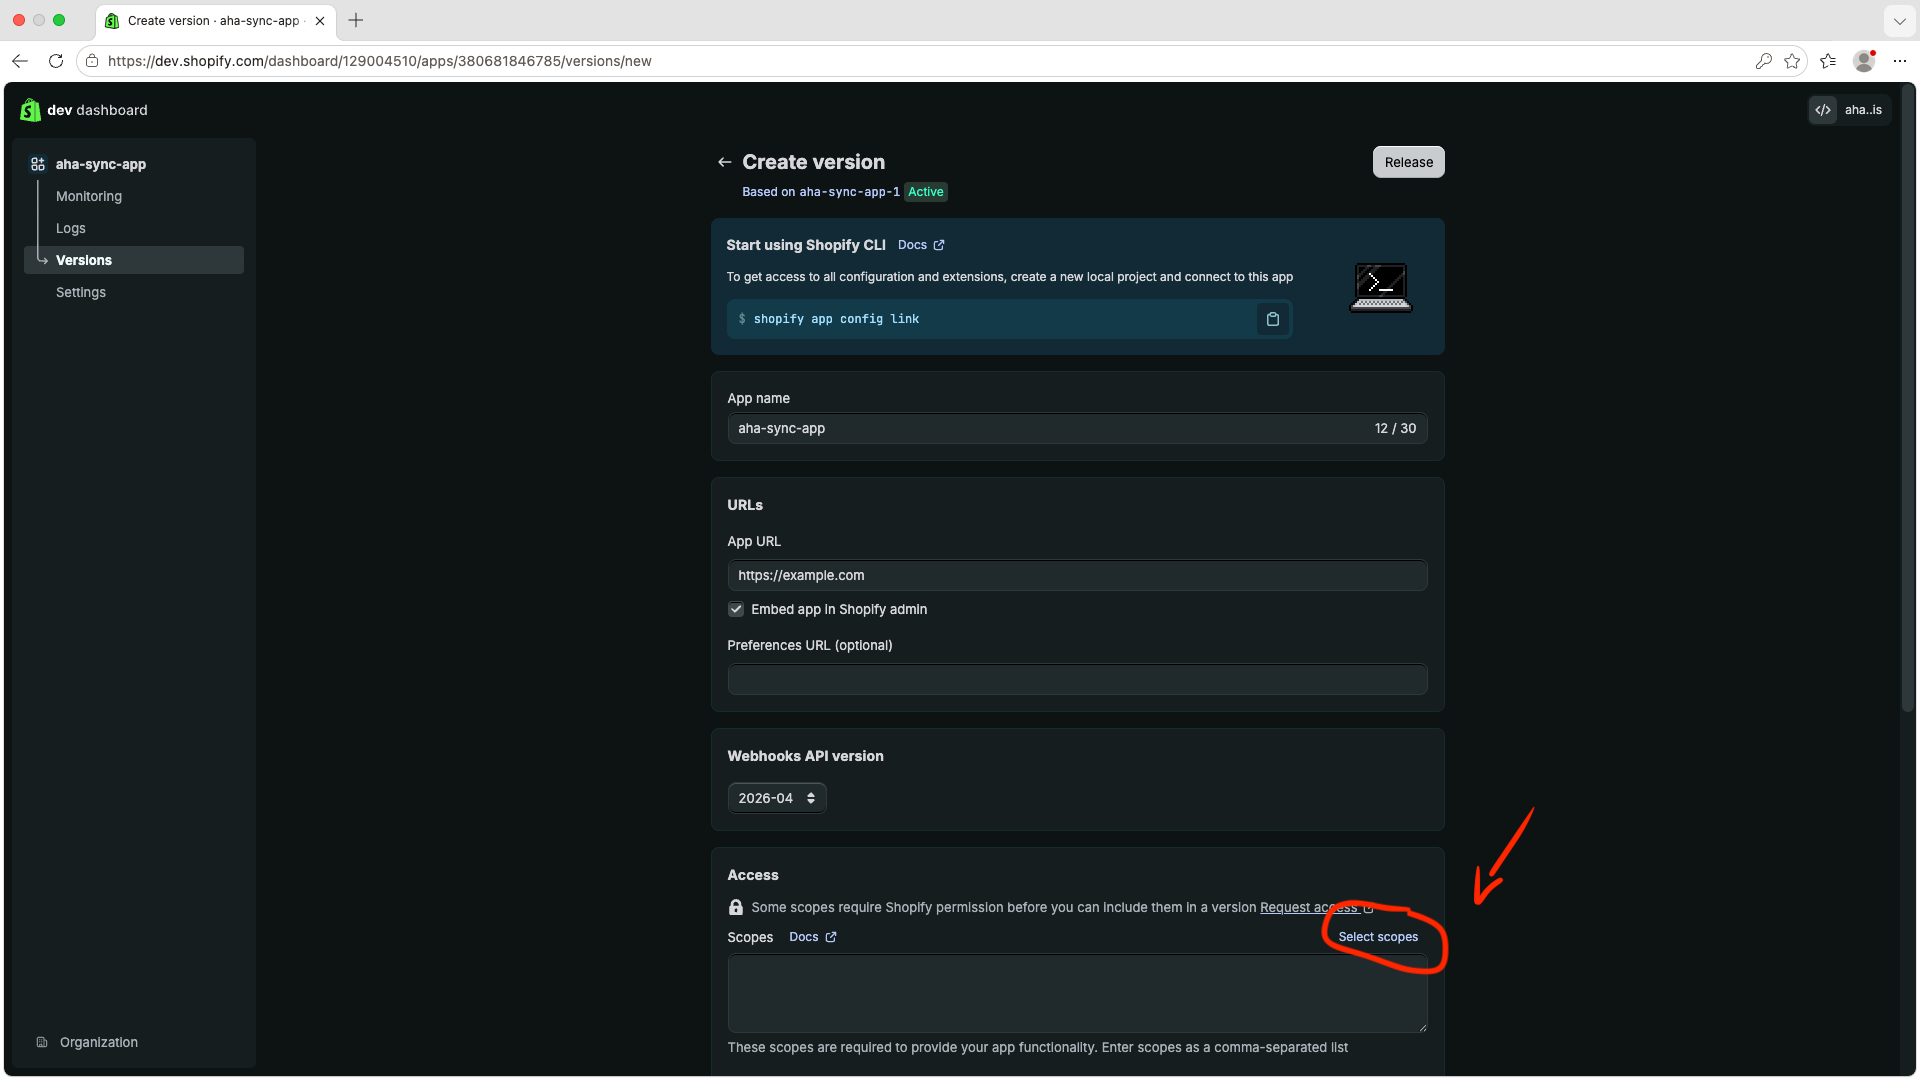
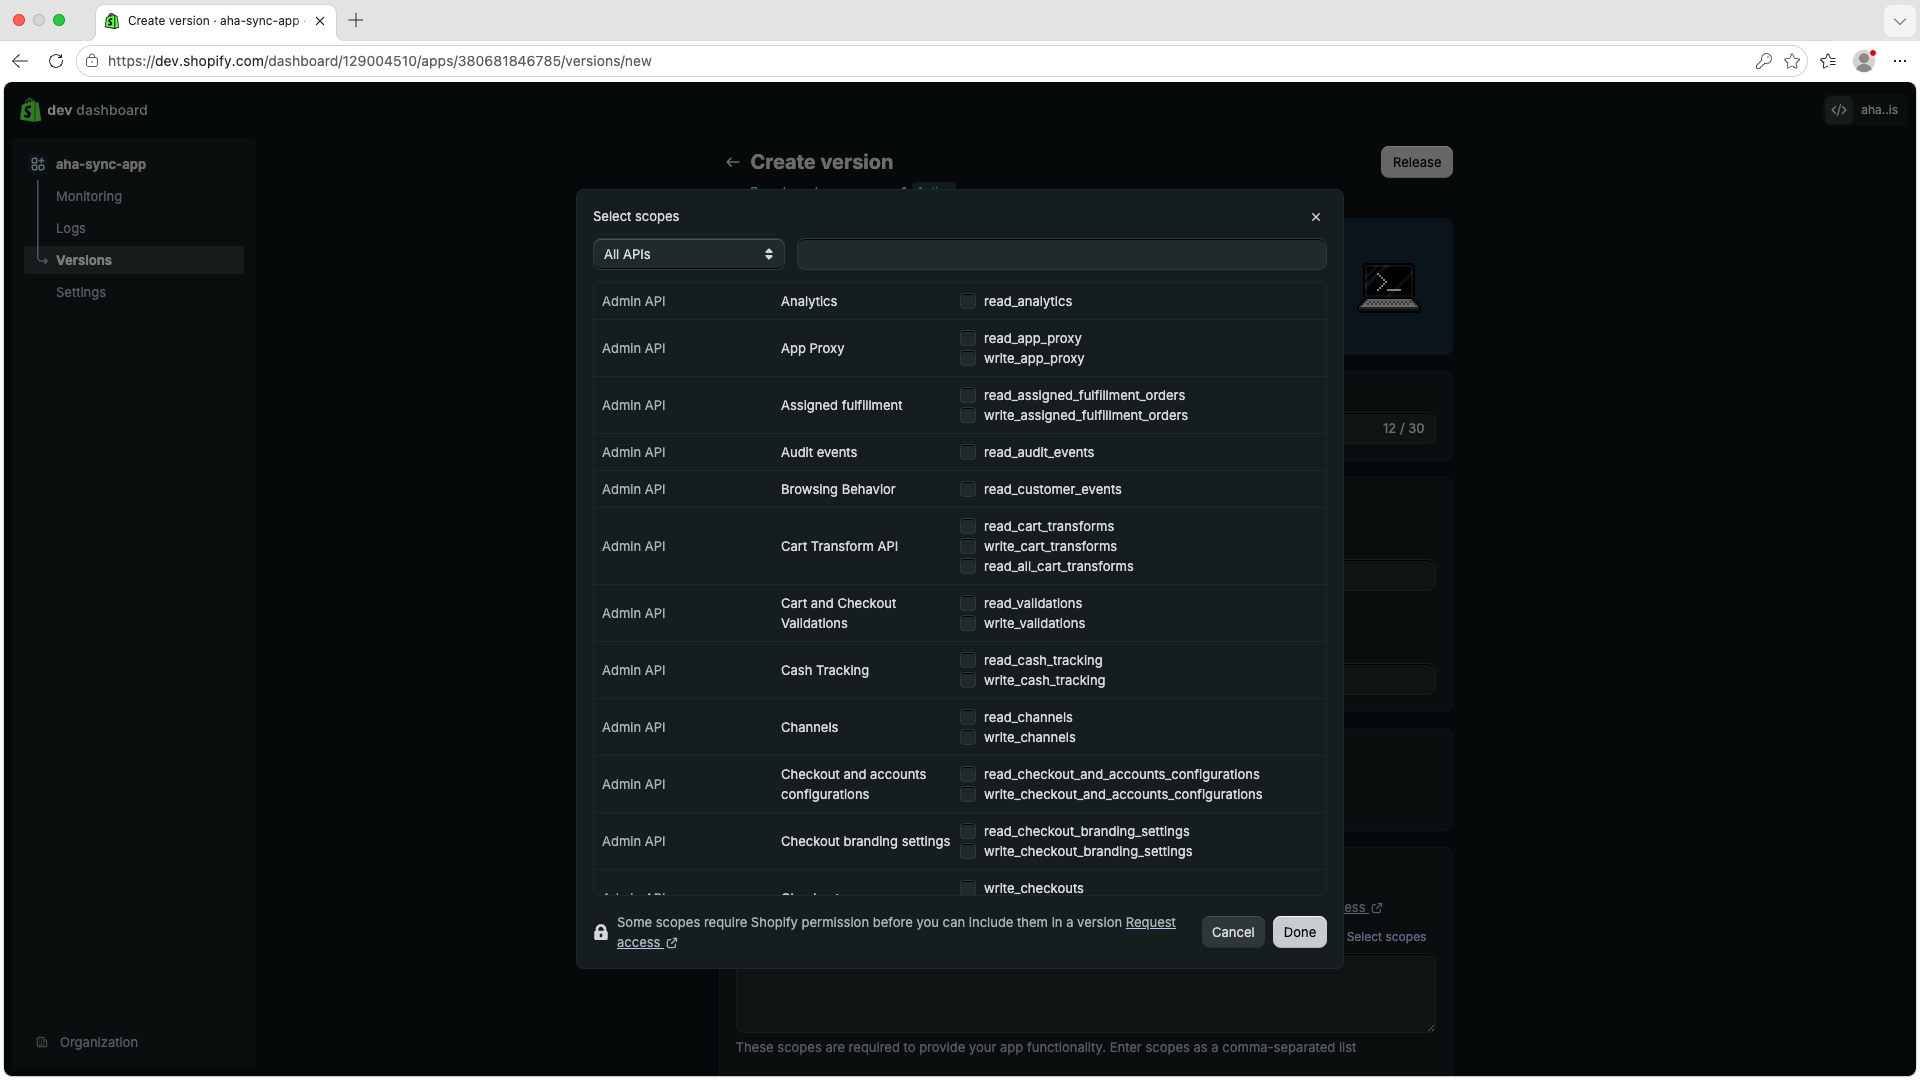
After the app is created, open the version setup screen. In Access, click Select scopes, select the required scopes below, then click Done.
write_ordersread_ordersread_productsread_fulfillmentswrite_fulfillmentsread_merchant_managed_fulfillment_orderswrite_merchant_managed_fulfillment_ordersread_locationsread_online_store_navigationread_themes
or Copy the full list here (you can paste into the scopes text box):
write_orders,read_orders,read_products,read_fulfillments,write_fulfillments,read_merchant_managed_fulfillment_orders,write_merchant_managed_fulfillment_orders,read_locations,read_online_store_navigation,read_themes
What each scope is used for:
| Scope | Why Aha needs it |
|---|---|
read_products |
Import your products into Aha and keep them updated when you change them on Shopify. |
write_orders |
Create orders in your Shopify store when customers buy on Aha, and cancel/refund them on Shopify when the Aha order is refunded or canceled. |
read_orders |
Read back the orders Aha created to verify sync status and calculate refunds correctly. |
write_fulfillments |
Mark orders as fulfilled on Shopify when Aha delivers them. |
read_fulfillments |
Read fulfillment status to keep Aha and Shopify in sync. |
write_merchant_managed_fulfillment_orders |
Fulfill order items that are stocked at your own locations. |
read_merchant_managed_fulfillment_orders |
Read those fulfillment orders before fulfilling them. |
read_locations |
Return refunded items to the correct store location's inventory (restock). |
read_online_store_navigation |
Read your store's menu (Content > Menus) to rebuild the same category tree (up to 3 levels) on your Aha store. |
read_themes |
Detect which menu your published theme's header actually displays, so Aha mirrors the exact navigation your customers see. |
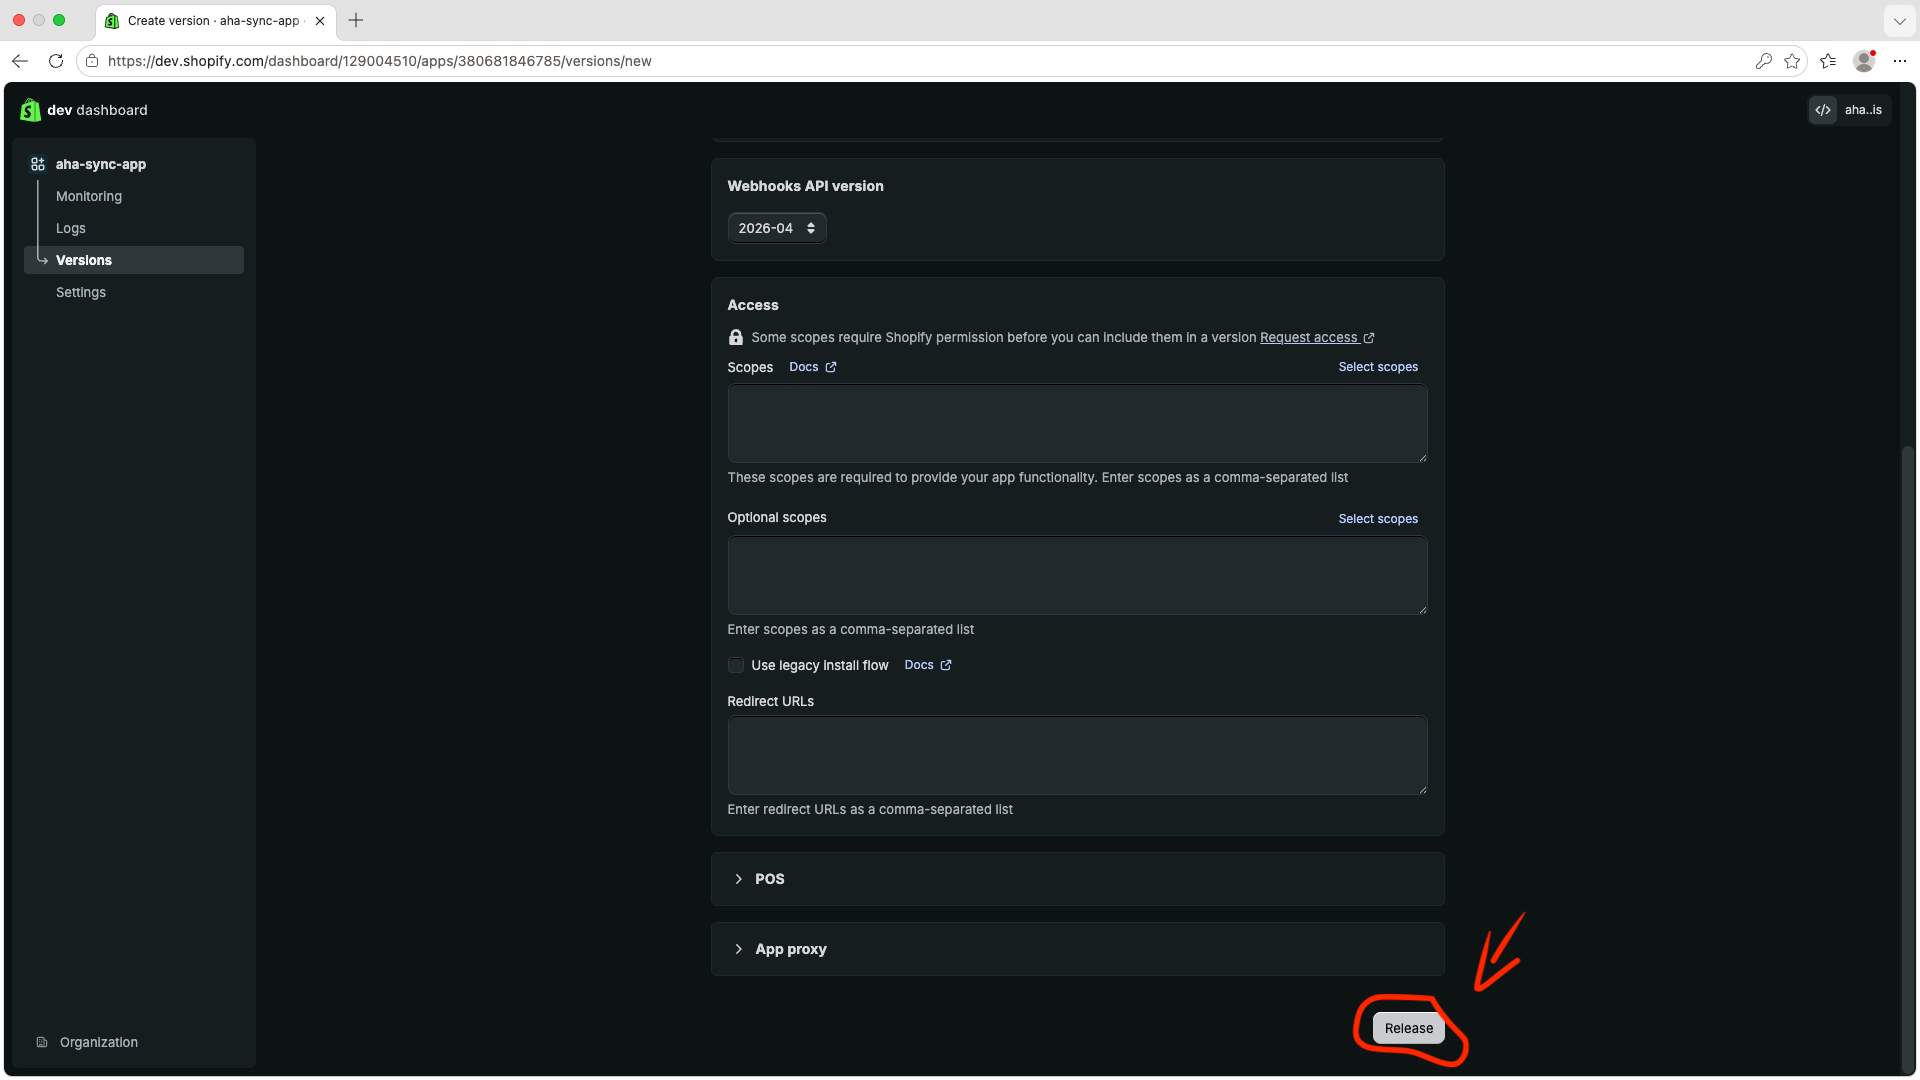
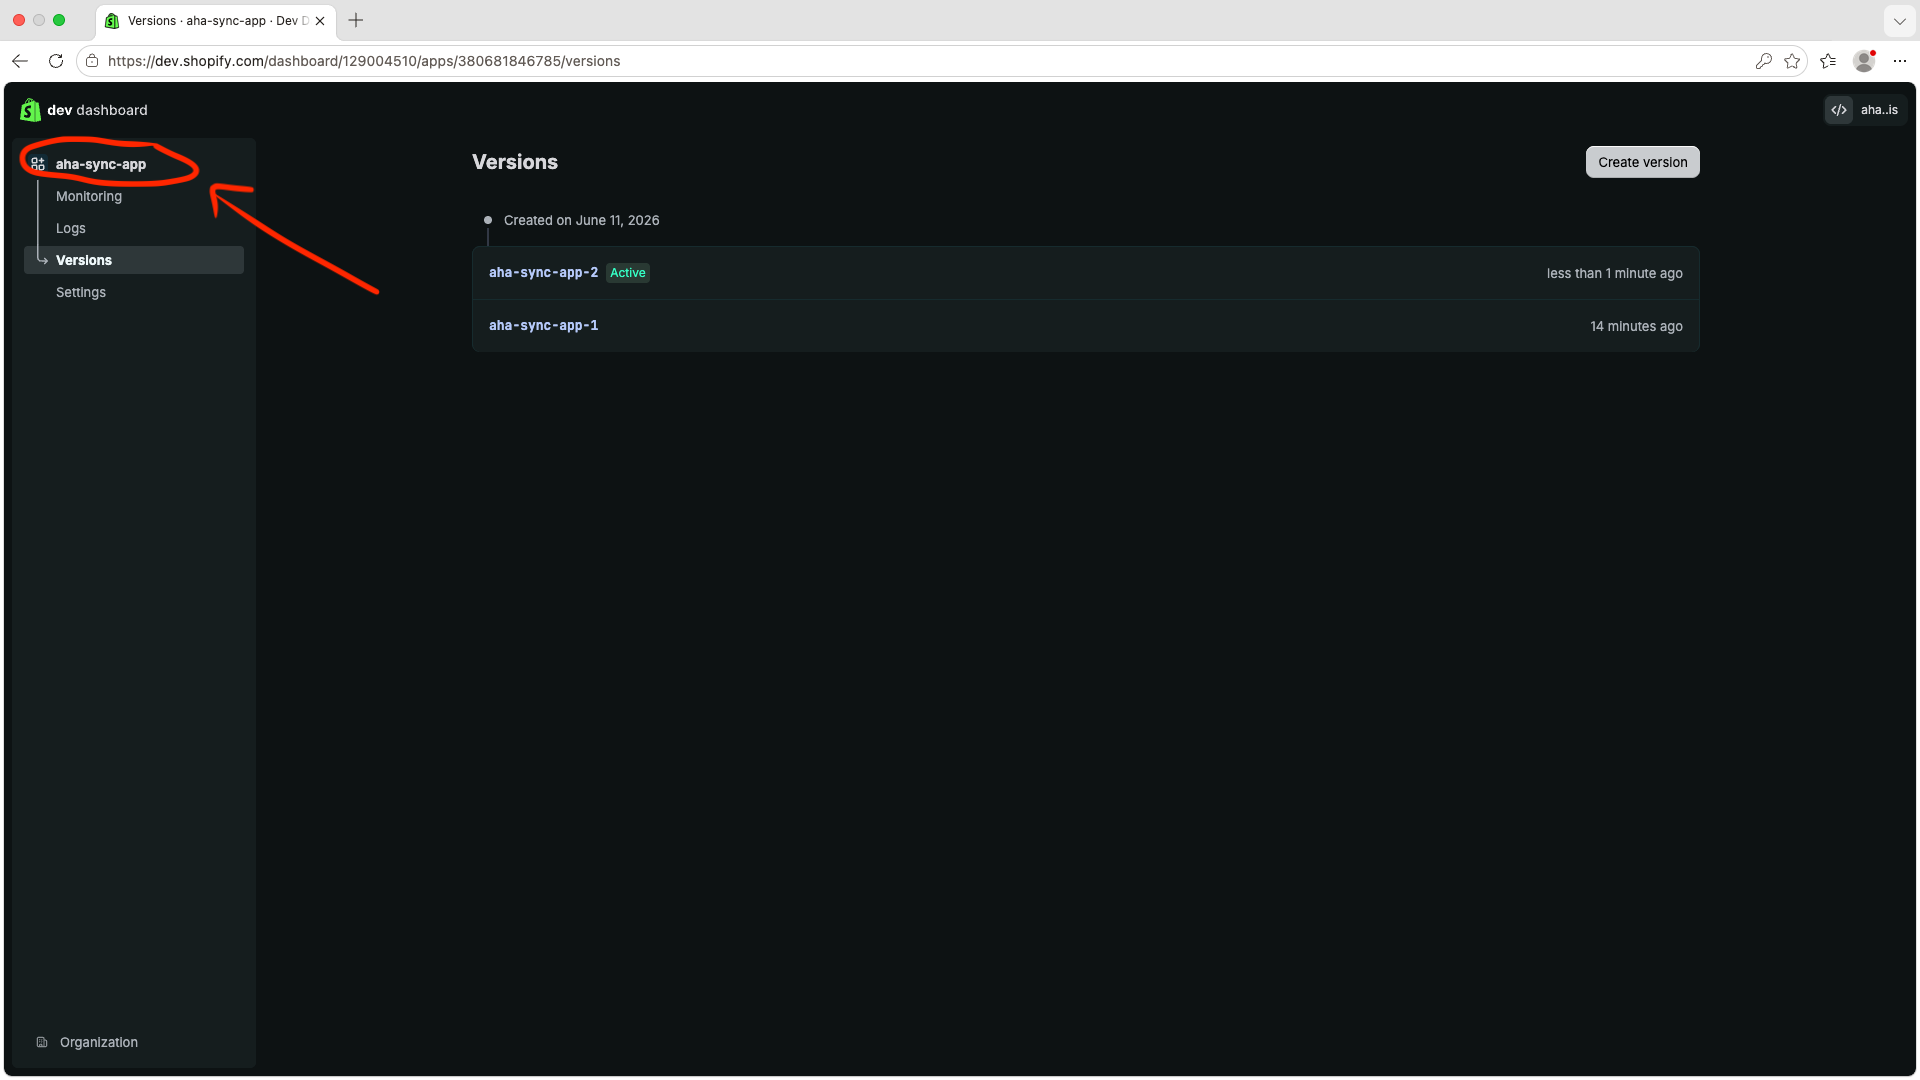
Review the version configuration and click Release. Then open Versions and confirm the released version appears in the list.
3. Create The Custom Install Link
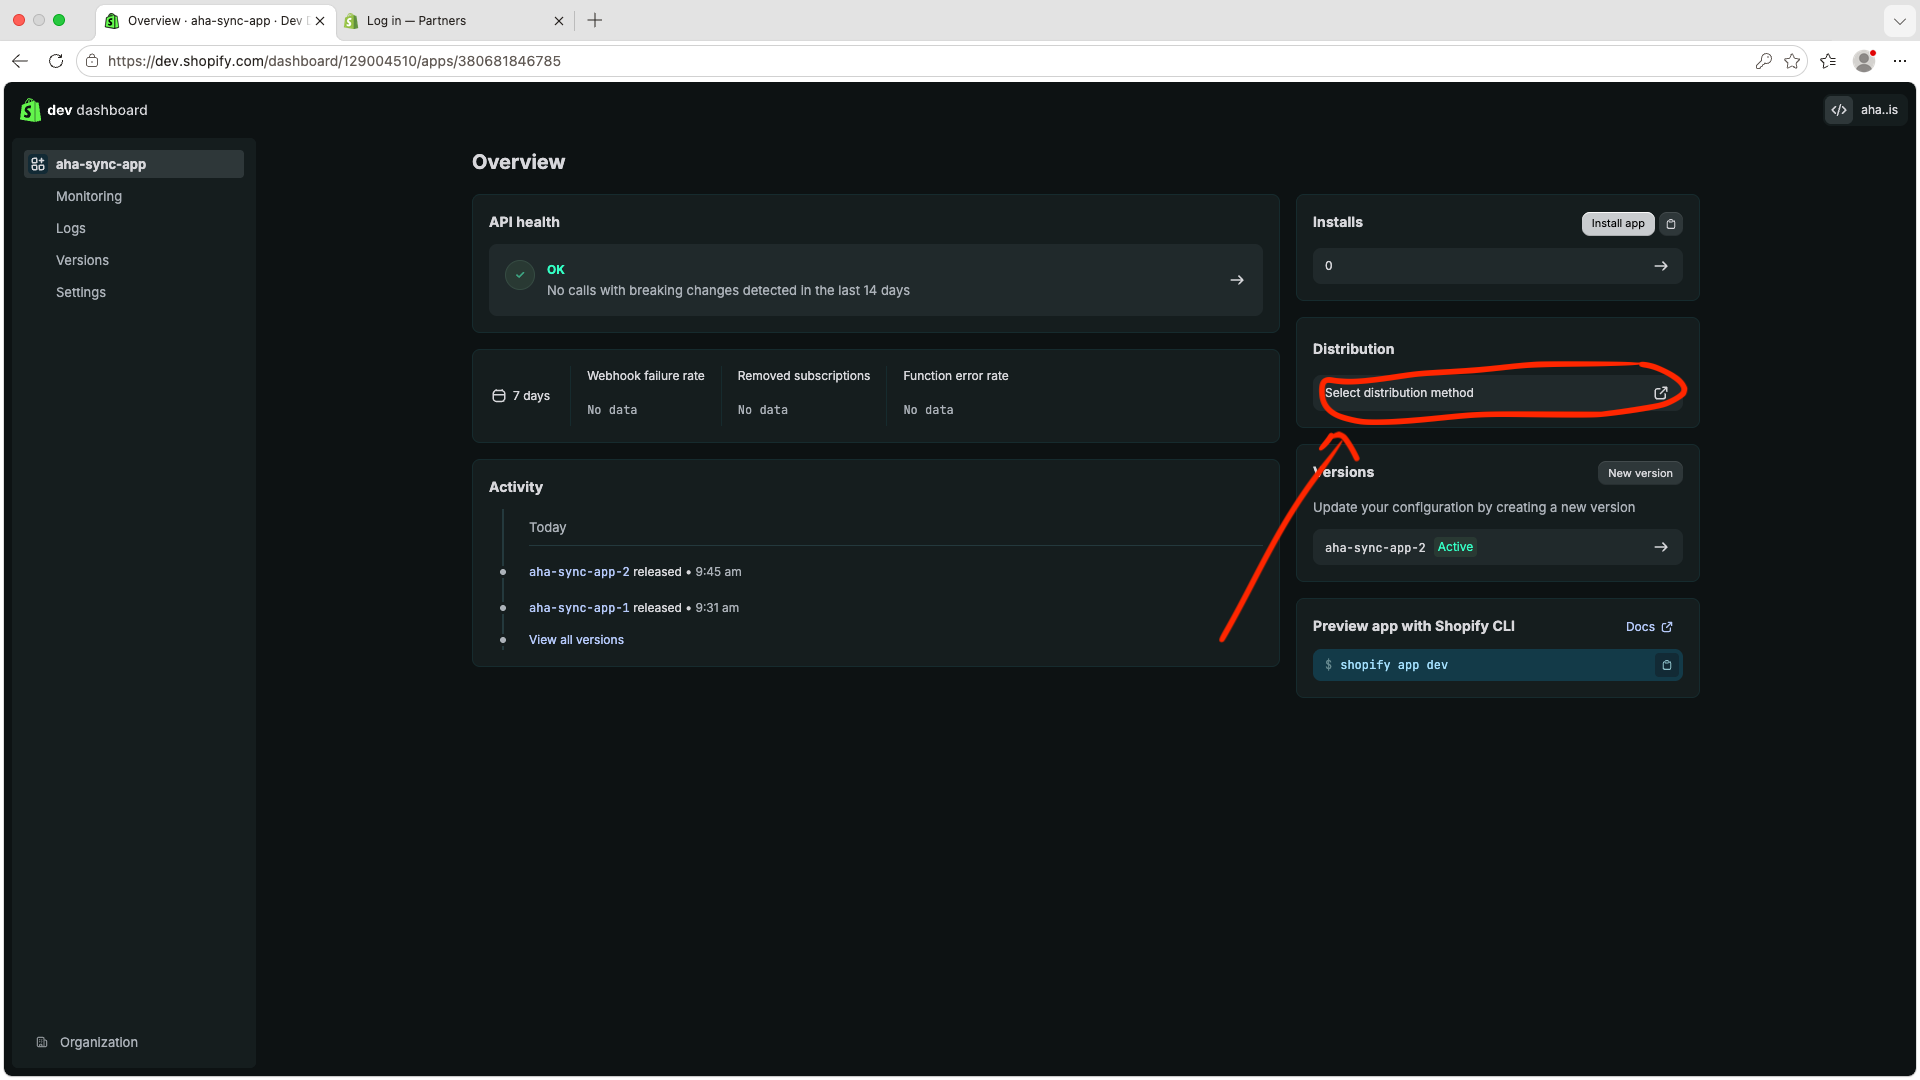
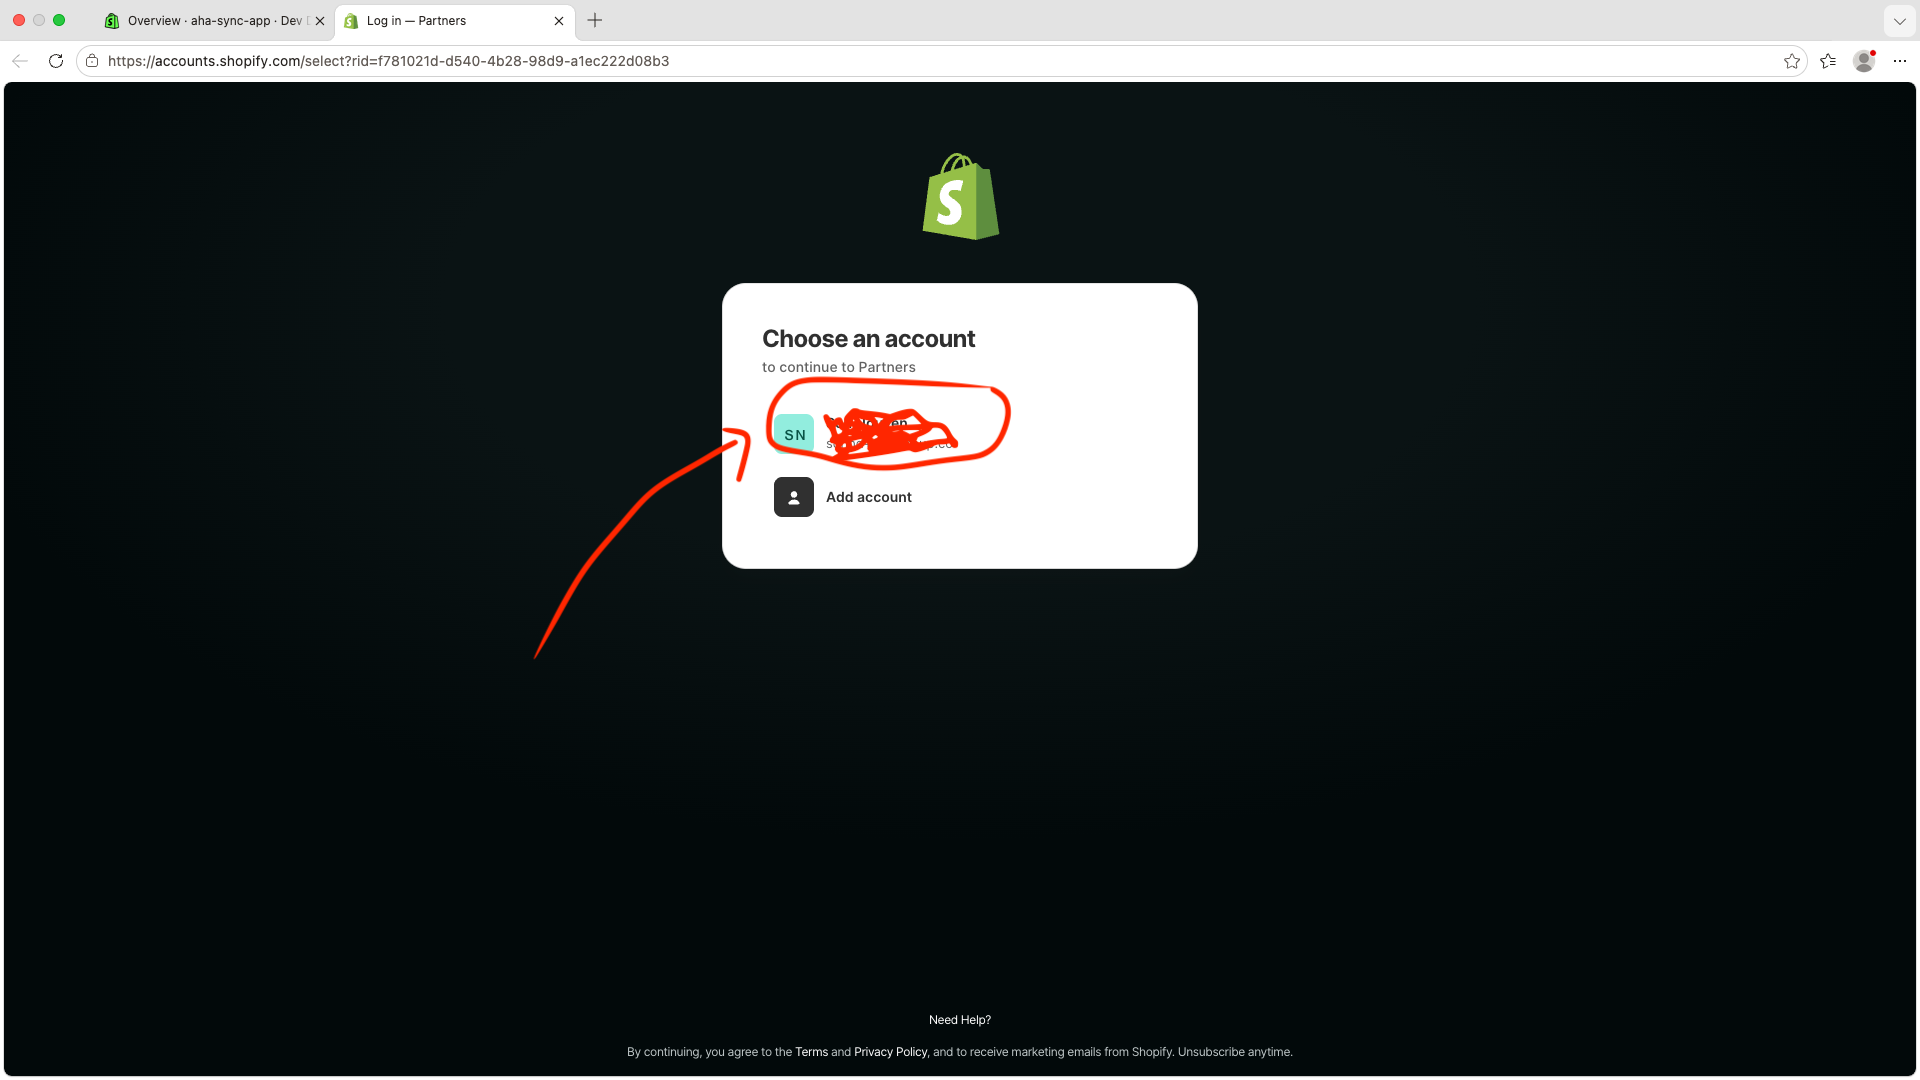
From the app overview, open the Distribution setup. If Shopify asks which account to continue with, choose the correct account.
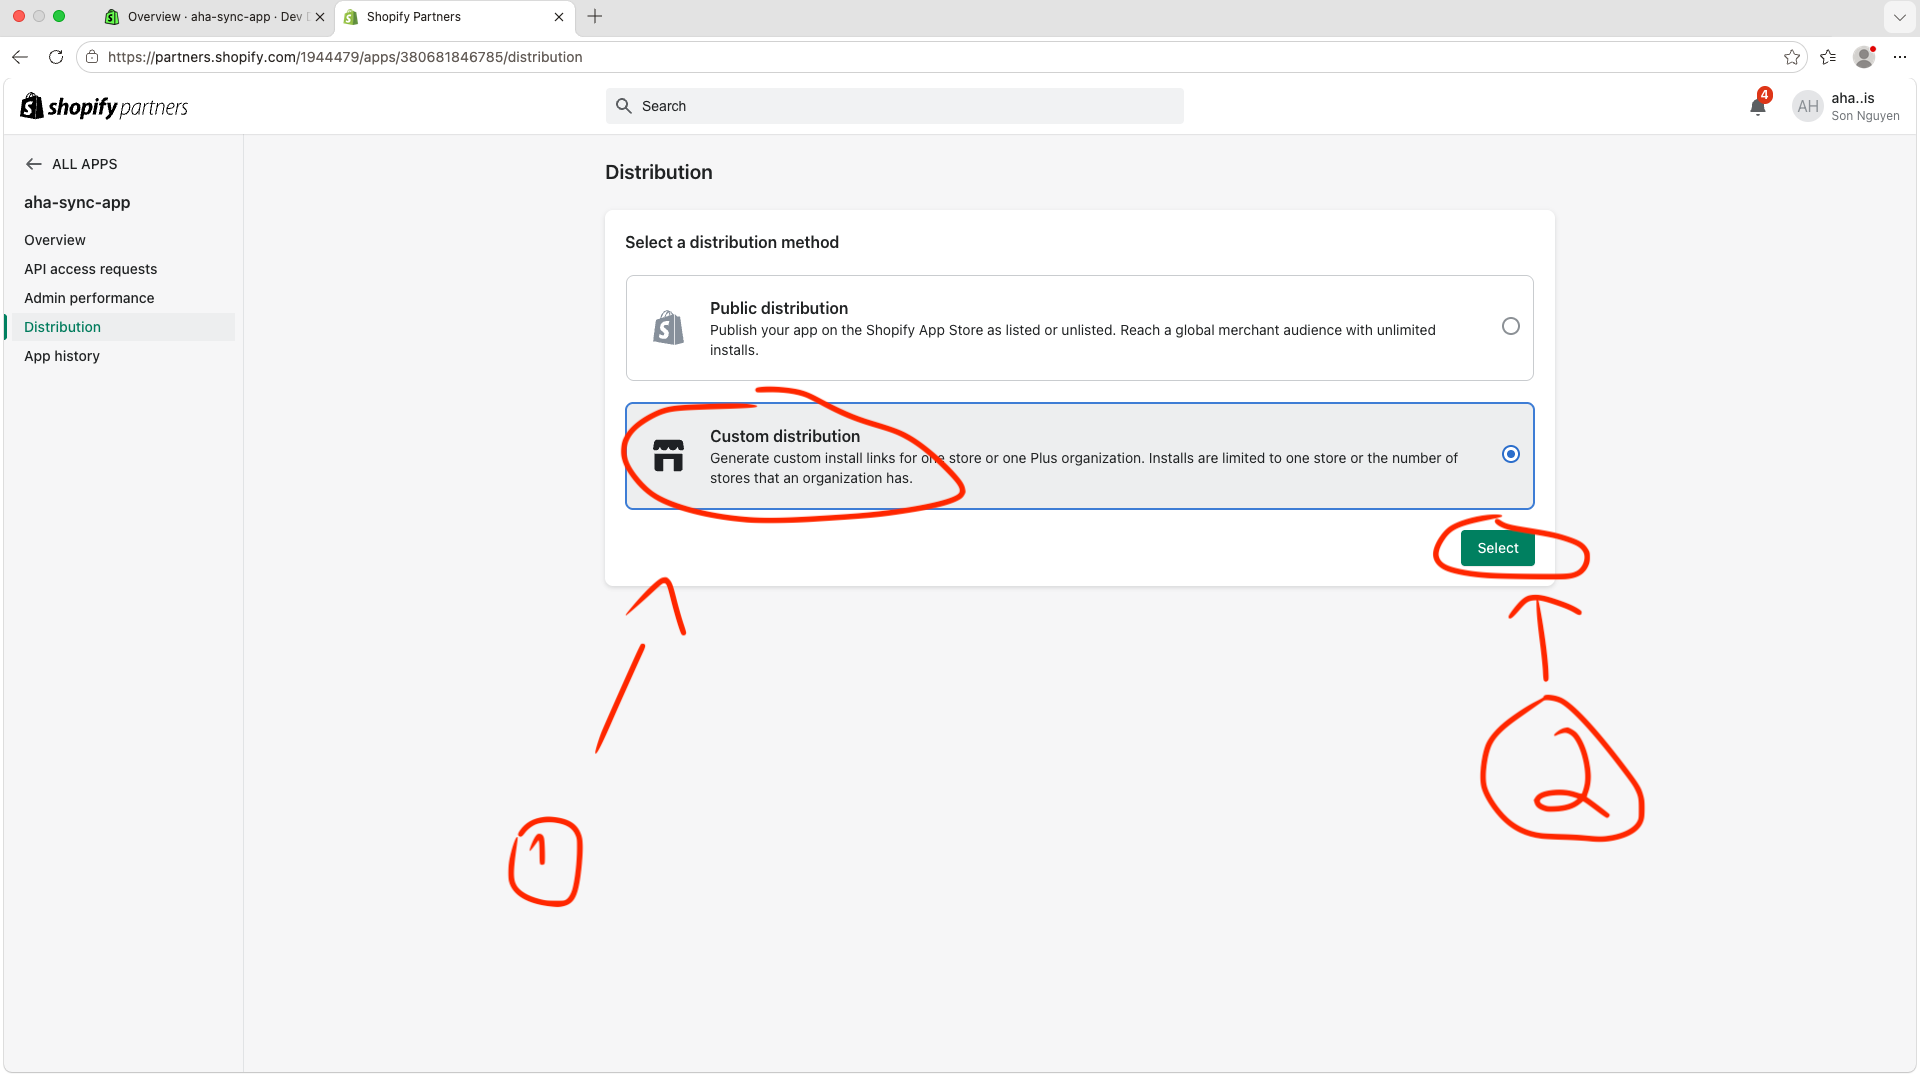
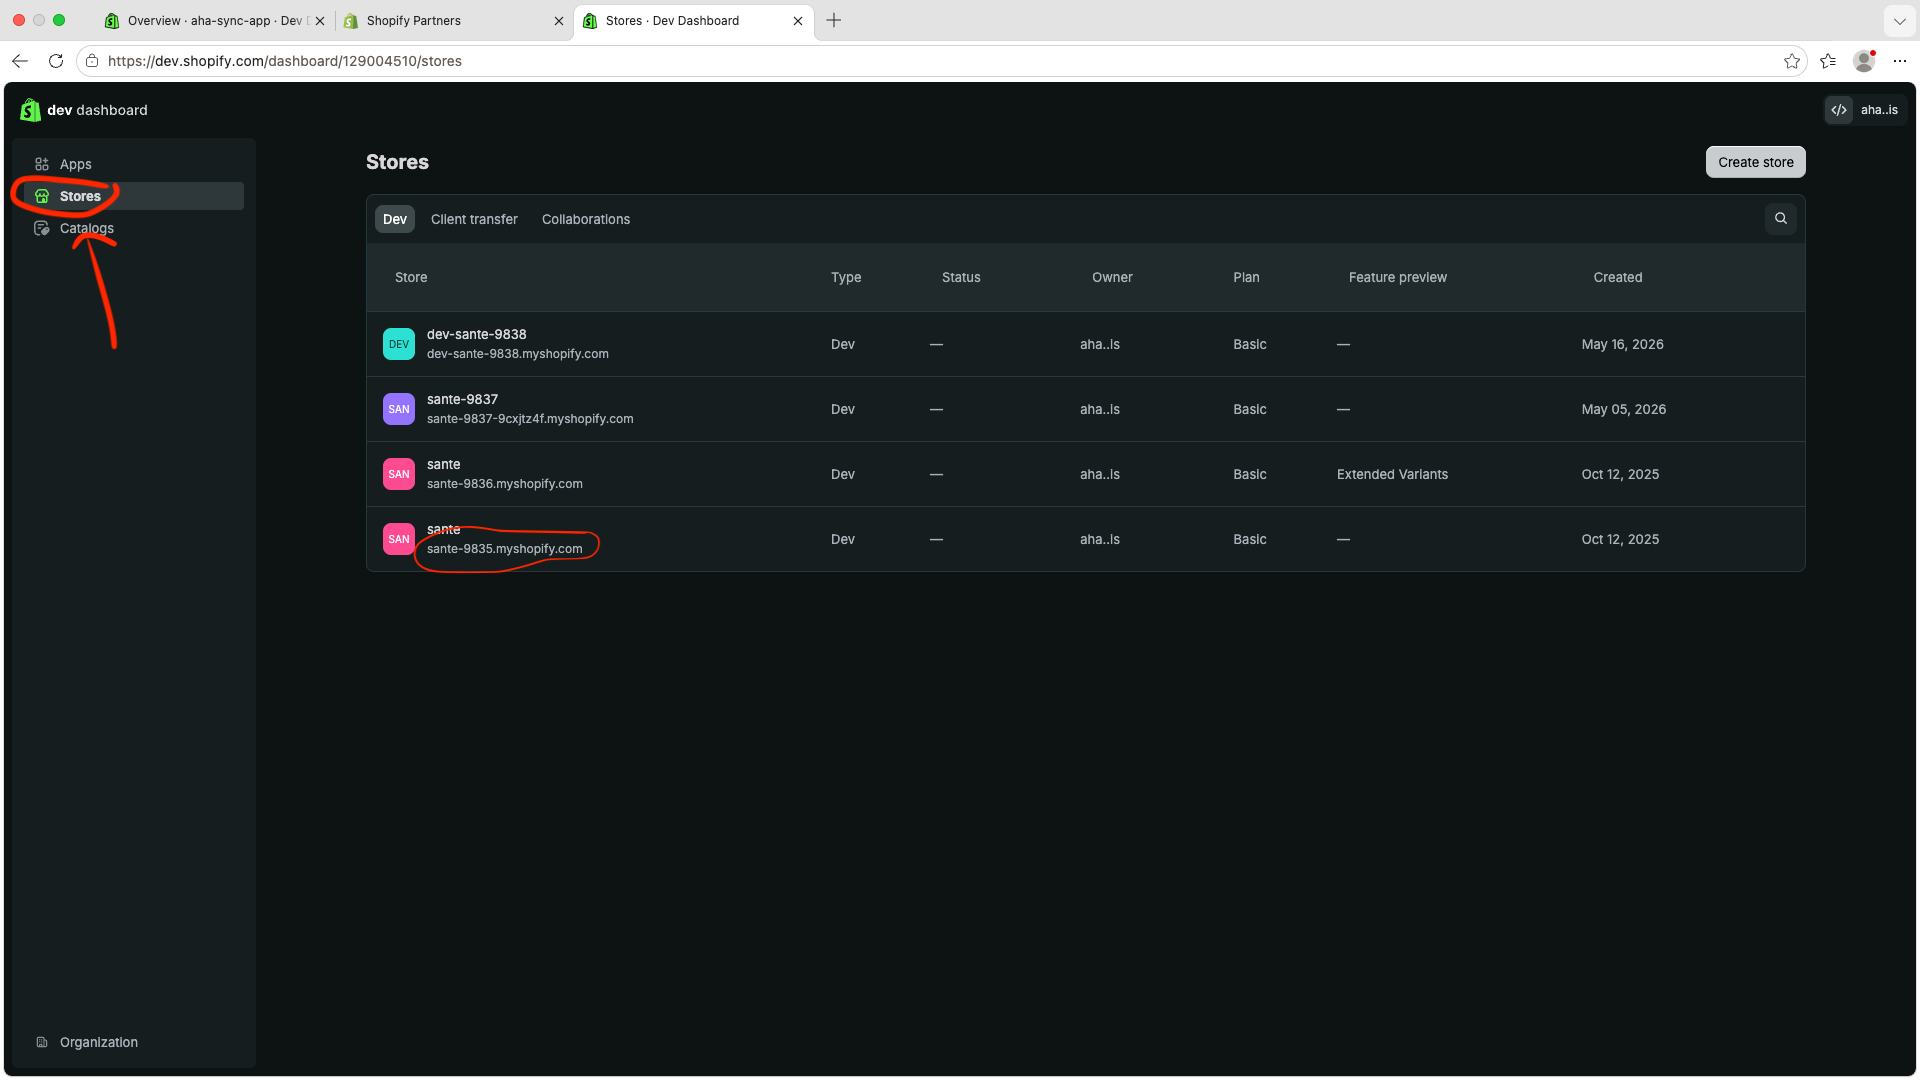
In Distribution, select Custom distribution. Then find the target store domain from Stores in the Shopify Dev Dashboard.
Example:
sante-9835.myshopify.com
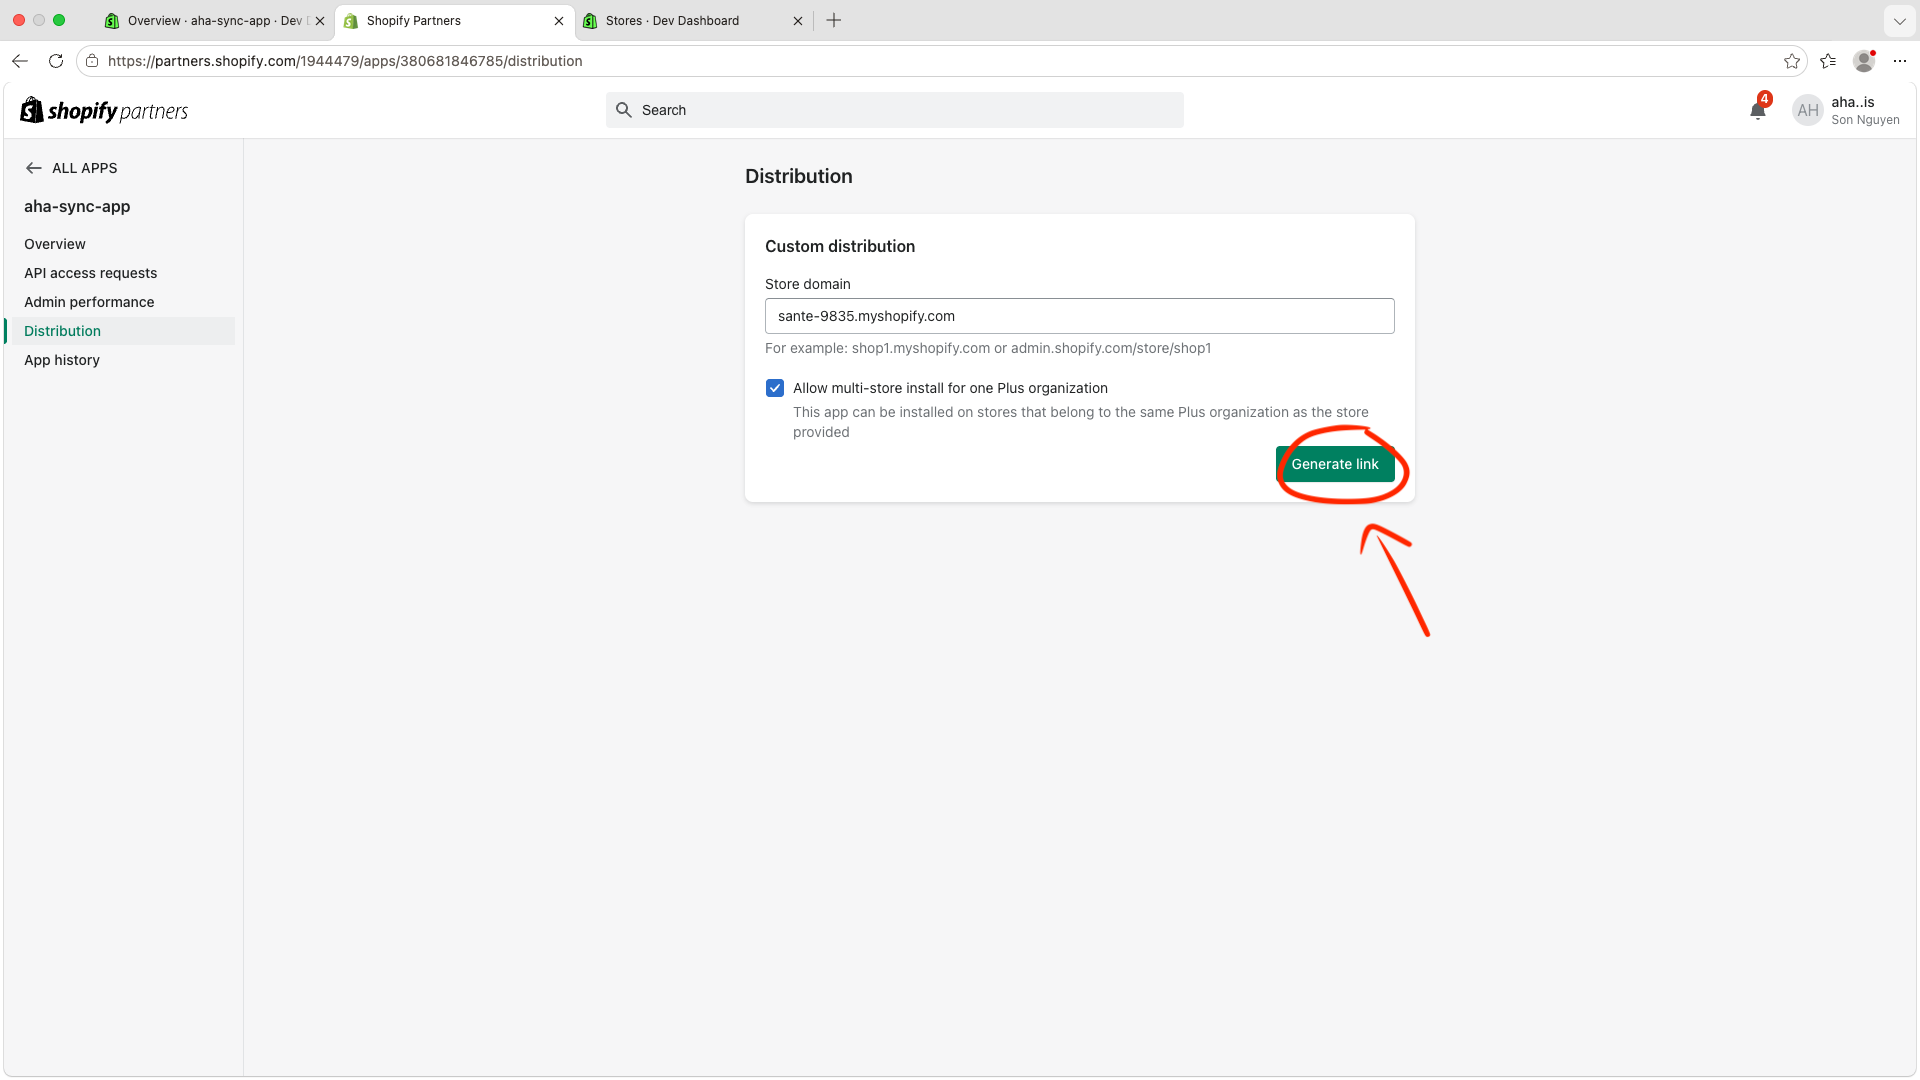
Return to the app Distribution page, enter the target store domain, disable multi-store install if the app should be limited to one store, and click Generate link.
4. Install The App On The Store
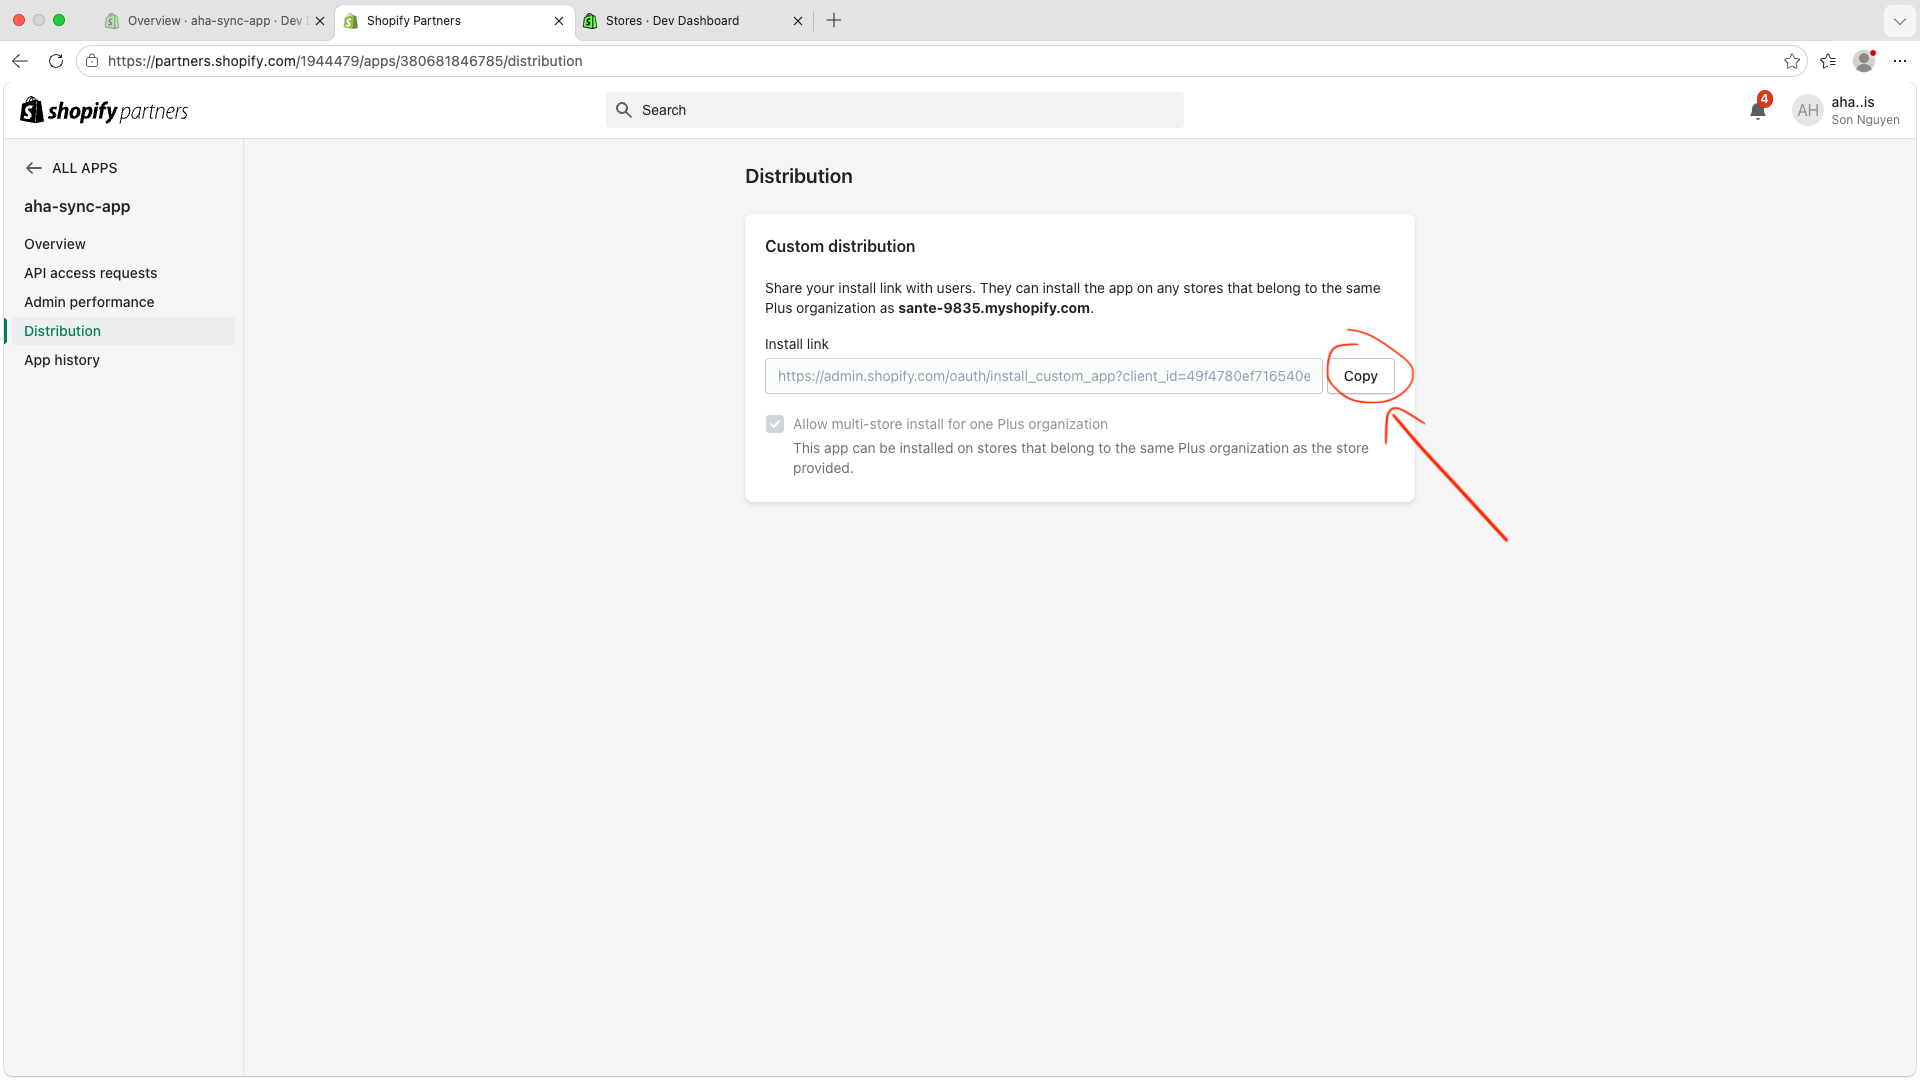
Copy the generated install link and send it to the store owner, or open it directly in the target store admin.
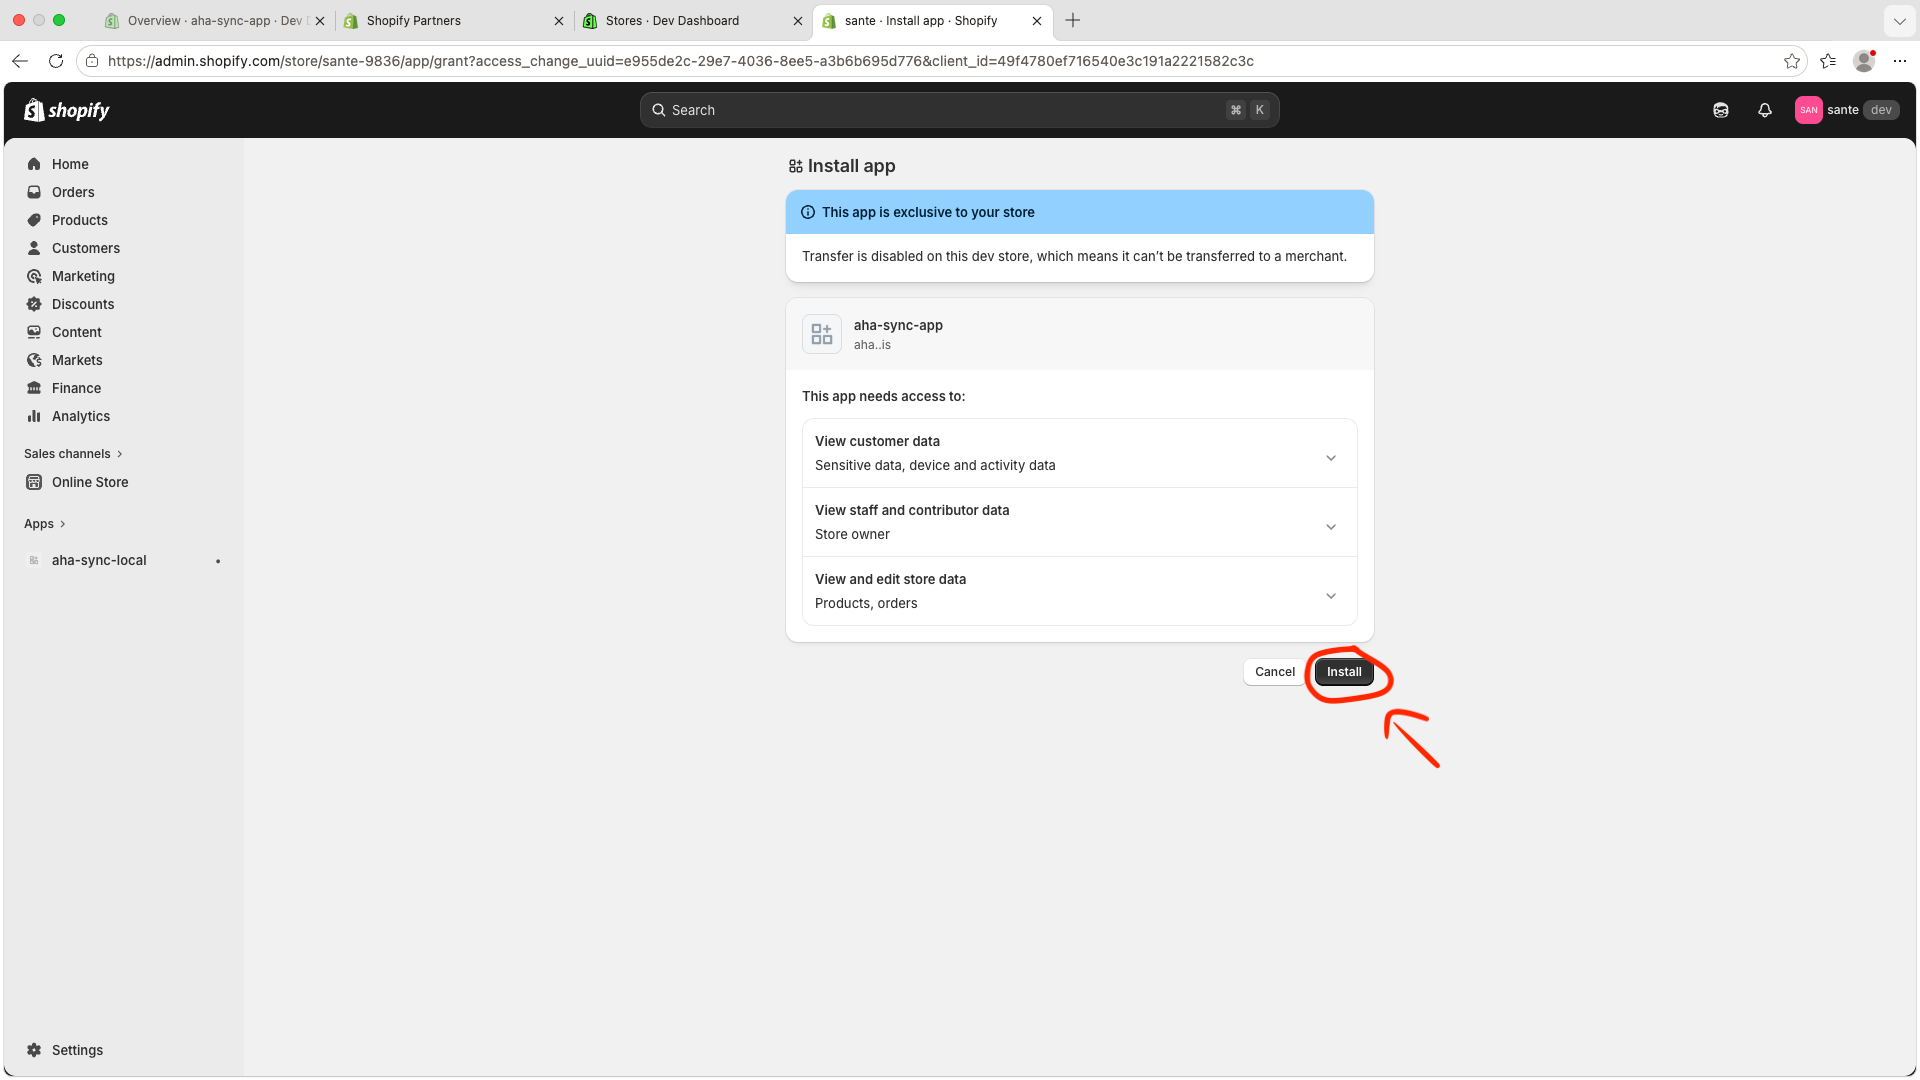
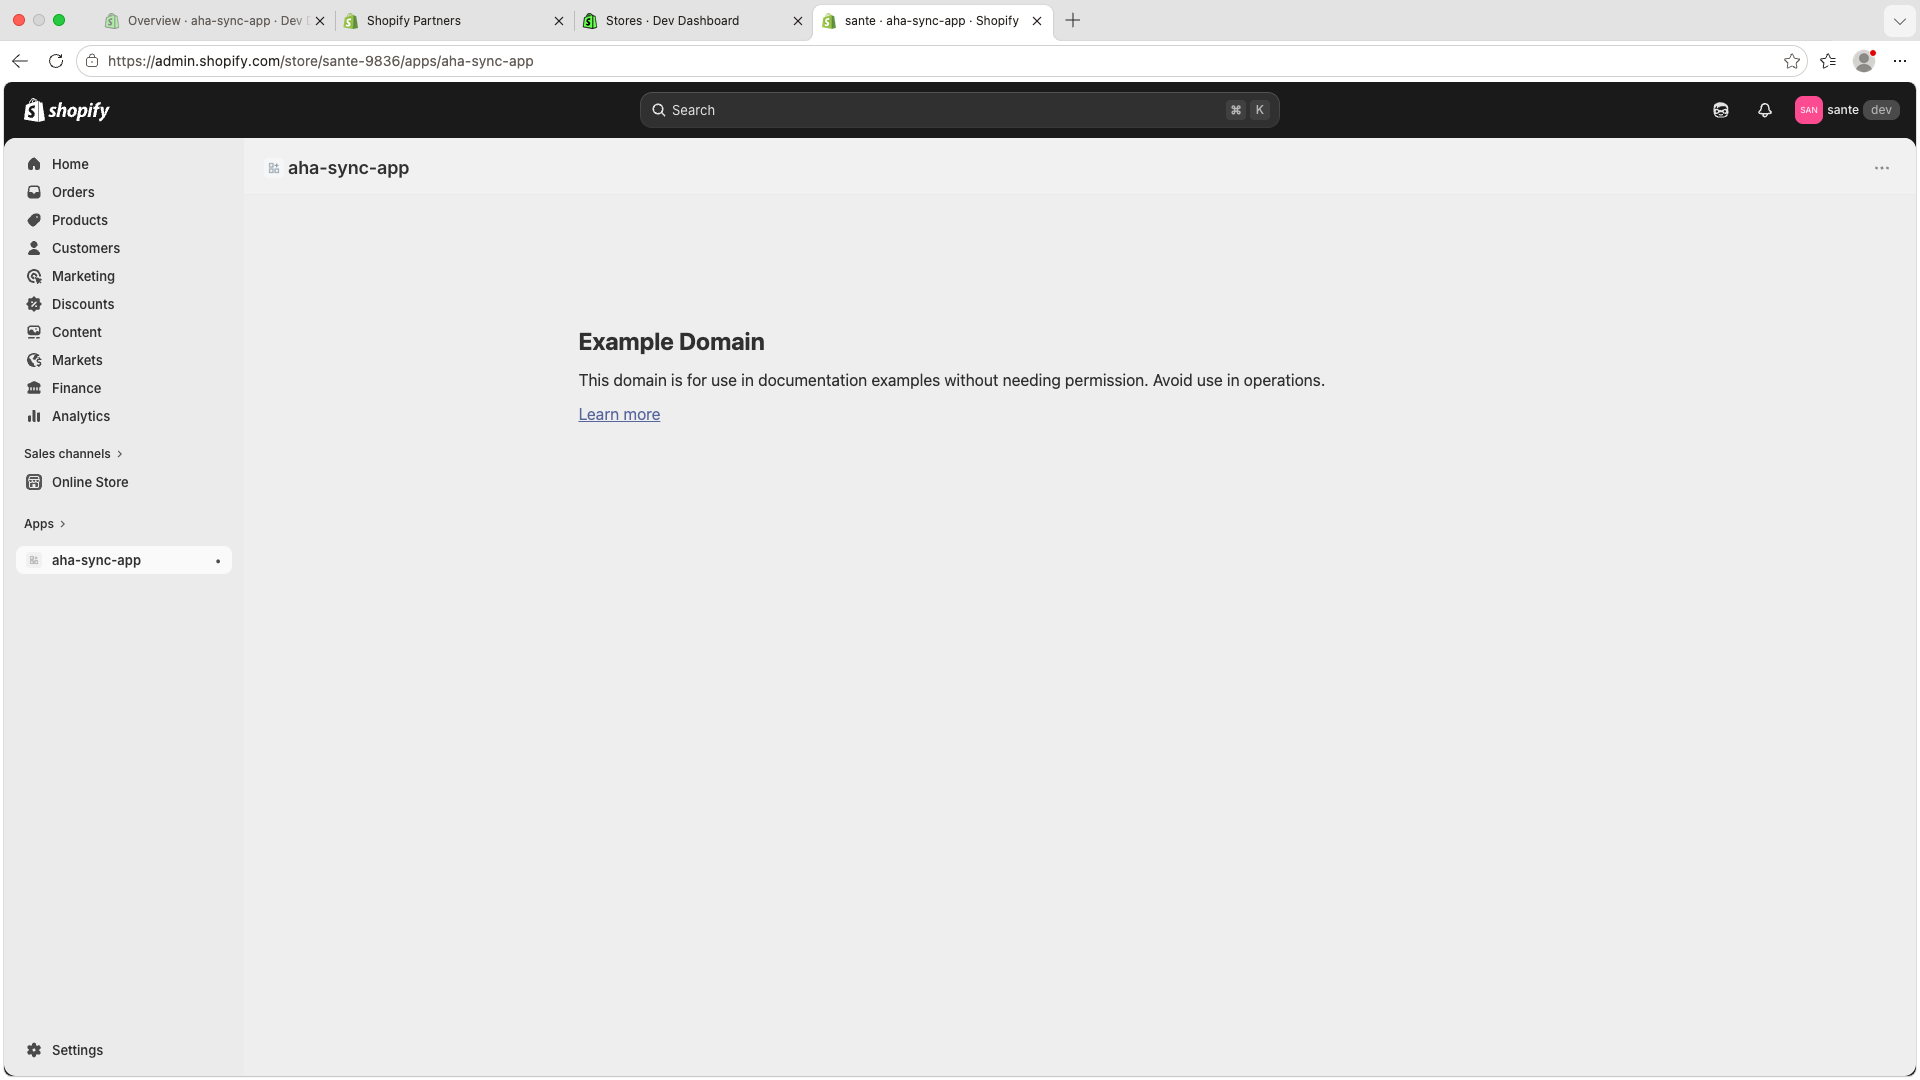
Review the permissions, click Install, and confirm the app appears inside the Shopify admin for the target store.
5. Send Us The App Information
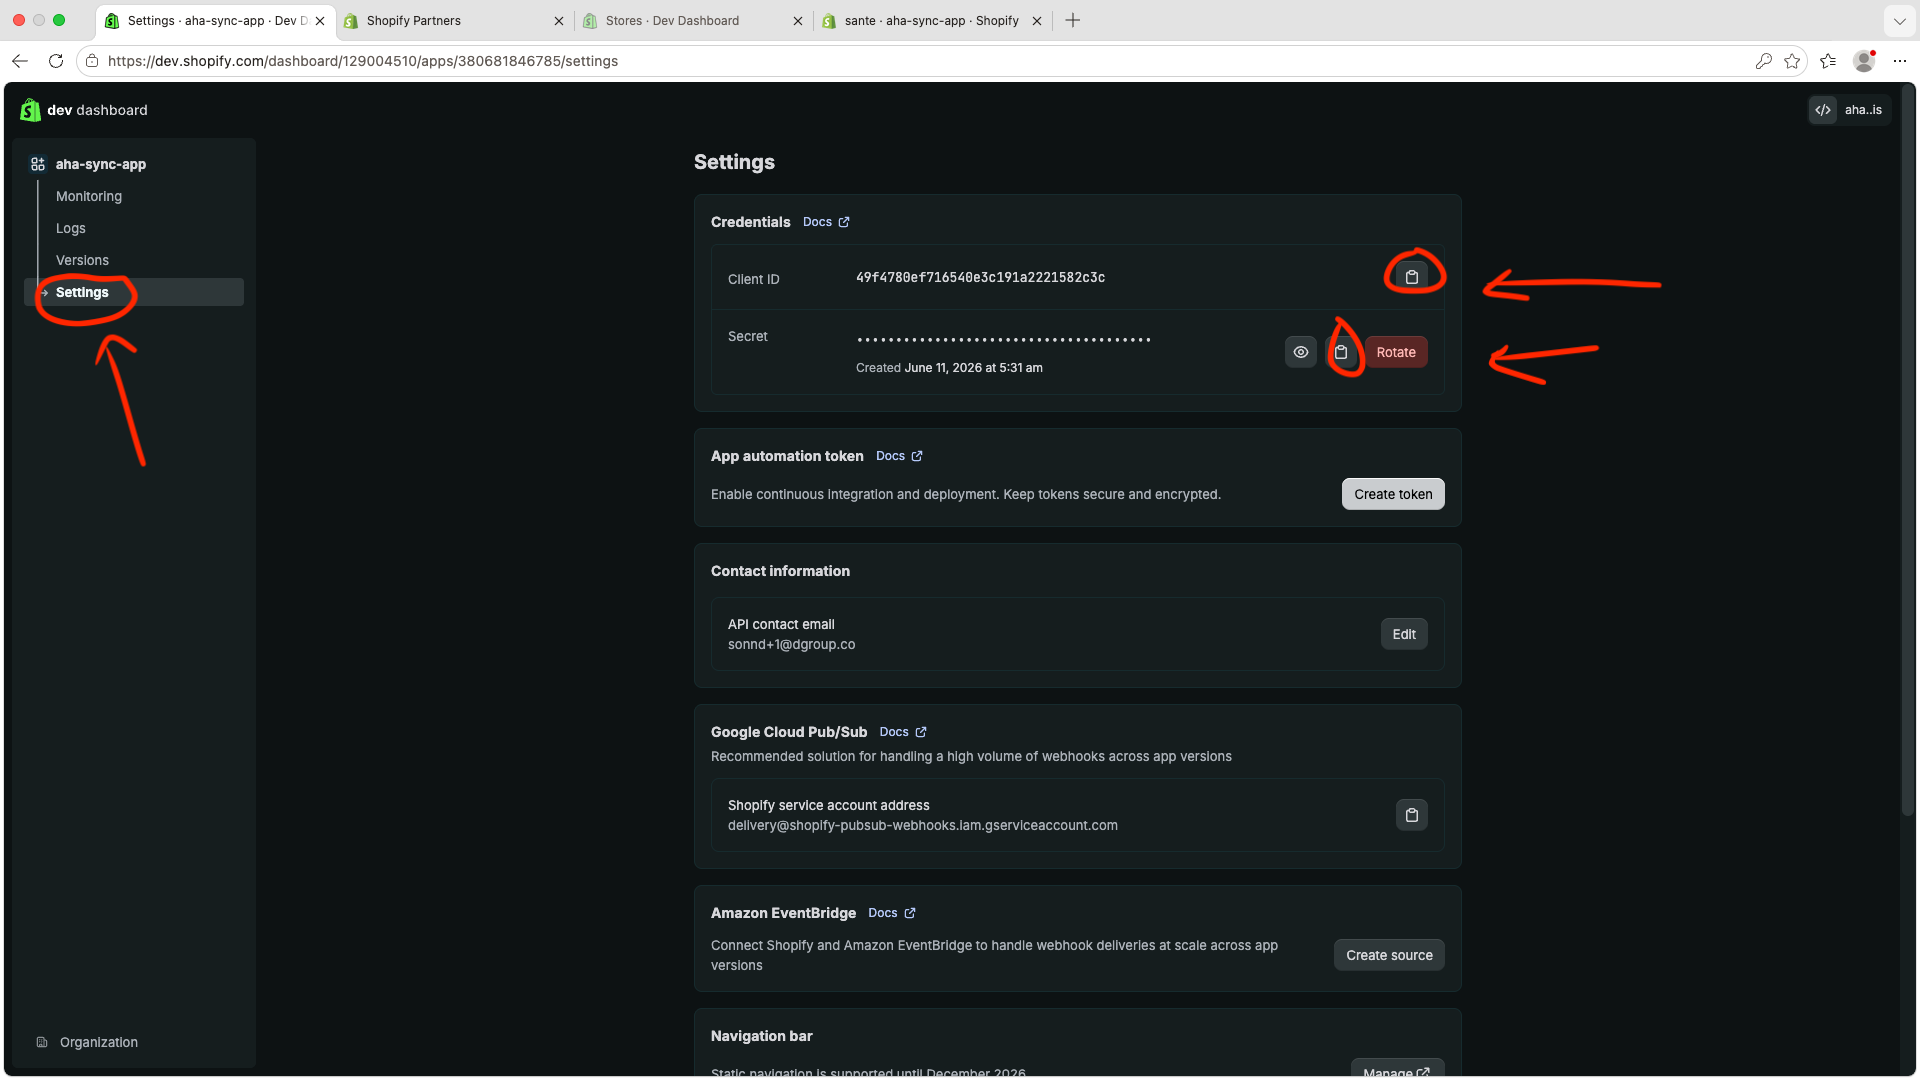
Go to the Shopify Dev Dashboard, open the app, then open Settings.
Email these details to [email protected] and we will start import process:
Client IDSecretShopify domain name, for examplesante-9835.myshopify.com